Trails and Particles
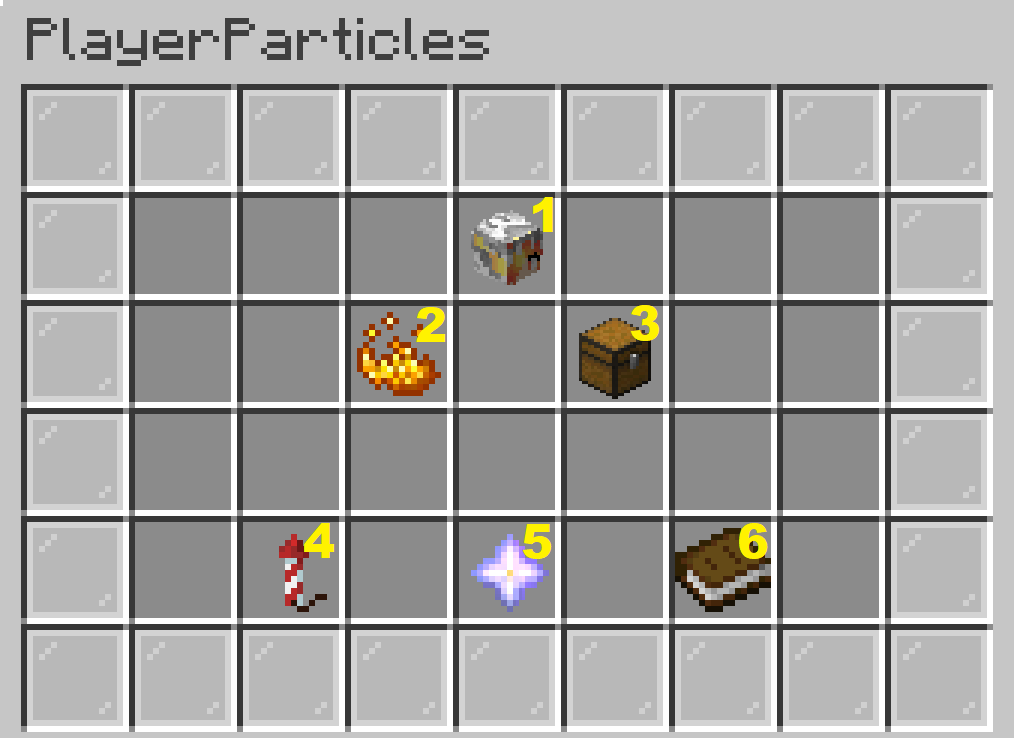
Trail Menu Explanation:
1 - Player Info and Trail Visibility
When moused over this icon shows general information about your particles. When clicked it will toggle visibility of particles. This only effects the player toggling and will not prevent the active particle from being visible to those with particles toggled on.
2 - Manage particles
This is used to add or edit particles the player is using. All active particles will be listed individually and new particles can be added with the Create Particle option.
Note: By default players can only have 1 active particle at a time. Players who have purchased the wings, rains, or block packages on the buycraft store can have up to 3 particles active.
3 - Manage Groups
This is used to manage saved particle groups. Groups are simply sets of particles that have been saved for easy re-application later.
4 - Edit Primary Effect
This edits the effect (particle type) for the first particle listed under the Manage Particles menu. Editing the primary particle, or other particles, can also be done directly through the Manage Particles menu.
5 - Edit Primary Style
This edits the style (particle shape) for the first particle listed under the Manage Particles menu. Editing the primary particle, or other particles, can also be done directly through the Manage Particles menu.
6 - Edit Primary Data
This edits the particle data (only available for some particles. Primarily effects particles that have color options) for the first particle listed under the Manage Particles menu. Editing the primary particle, or other particles, can also be done directly through the Manage Particles menu.
Setting a Trail!
2- Click “Manage Particles”

3- Click “Create a New Particle”
![]()
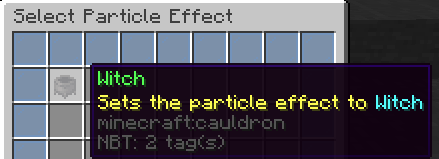
4- Select the particle effect from your available effects

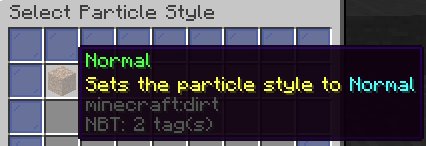
5- Select the particle style from your available styles

Done!
For players with more than one particle slot these steps can be repeated to have multiple particles active.
To remove the active particles (either just to get rid of it or to clear it so a new particle can be applied), click “Reset Your Particles” in the lower right

